
How to Organize and Manage Pictures: Part 4
Congrats! If you’ve been following along, you should be feeling like you’re finally getting a handle on all those photos. So far, we’ve:
Started taking fewer pictures
Gotten into the habit of culling our camera rolls regularly
Found easy ways to order prints directly from our phones

You're off to a great start!
Next up, let’s tackle getting your photos off your SD cards and cameras and onto your computer. If you’re a shutter-happy person (like me), this is something you’ll need to do more often than someone who doesn’t take as many pictures. I recommend doing this at least once a month. Set aside one hour you’d typically spend watching a show or reading, and dedicate it to organizing your photos!
Tip #5: Organize First
Over the years, I’ve tried many different methods of organizing my photos, and I’ve found a system that works for me. I prefer using an external hard drive because it allows me to store a ton of pictures without slowing down my computer. Plus, I have a backup service that automatically backs up my entire computer in case of a failure, fire, or flood. While this service may not be for everyone, it’s worth it to me, especially since photography is a big part of my livelihood.
If you're looking for alternatives, Google Photos is another option that offers storage, organization, and back-up in one system. I’d love to hear your experiences with it if you use it!
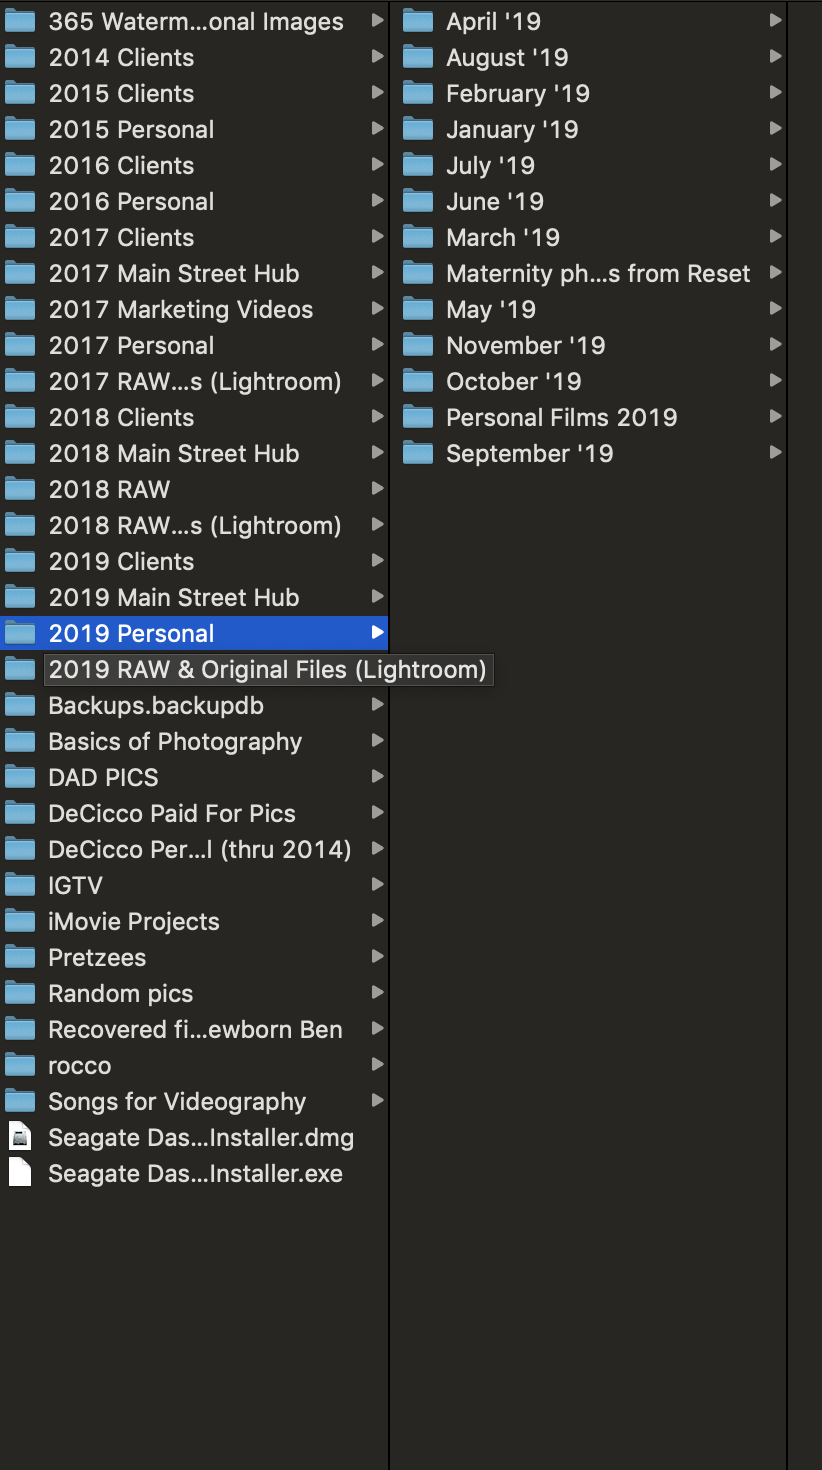
Before I connect my camera or insert an SD card, I always set up an organizational system. At the end of every year, I create a folder labeled with the year (e.g., “2023”) and, within that folder, subfolders for each month.
Uploading Photos
Once your system is in place, you’re ready to start uploading.
In the past, I connected my camera to my computer via the cord that came with it, using a program to import the photos. Nowadays, I use Lightroom, but any program or method that works for you is fine. The key is to get the photos onto your system!
Cull First
Before doing anything else, take time to cull your images. I always go through my photos multiple times—sometimes up to three runs—before I feel confident that I’ve gotten rid of all the duplicates or unusable shots. If you come across a photo that doesn’t hold any significant memory or value, delete it.
The goal is to keep the images that are truly “keepers”—those that are meaningful, beautiful, or memorable. You’re not going to want to store every shot you took at the family picnic just because it’s there. Be ruthless. Only keep the images that matter.
Export and Organize
Once you’ve culled your images, it’s time to export the keepers into your organized system. I like to place my photos in folders for each month they were taken. While you can use albums in programs like Lightroom, I find it easier to have a physical folder on my external hard drive that’s sorted by year and month. It makes searching for specific photos (like one from Christmas 2016) quick and simple.
In Lightroom, I use a consistent file naming system: year, month, day, and image number (e.g., “20230915_001”). This makes it even easier to search for a specific image in the future.

Clean Up Your SD Cards
Once you’ve successfully uploaded your photos and organized them on your computer, delete the images from your SD card. There’s no need to keep thousands of images on your card when they’re already safely organized on your computer.

Moving Forward
Managing your digital images doesn't have to be overwhelming. Once you establish an organizational system, it’s easy to keep up with it. I encourage you to set aside time every month to organize your pictures and ensure that you’re always backed up.
Next time, we’ll dive into printing your photos—so get ready to bring those memories to life!